Although humans can only survive three days without water, we still have to be tricked into drinking it! So it makes sense that we forget how much our pets need hydration. The pet supply industry knows it though, which is why food and water bowls can be so expensive! Let’s explore the DIY rabbit watering system and see how you can make one on a budget.
1. Simple DIY Watering System for Rabbits!! – Home In The Sticks
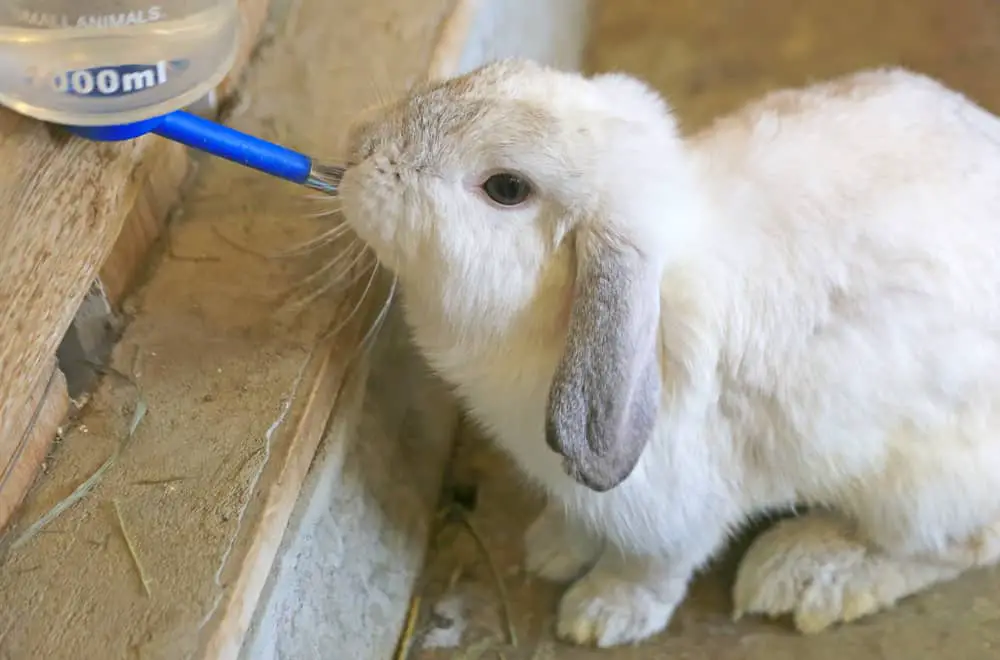
The easiest DIY rabbit watering system is to hang basic water bottles on the outside of your rabbit cage. We’ll probably look at that later, but its downside is you have to refill the bottles every day. So if you have multiple bunnies, you’re better off with a jerry-rigged water system.
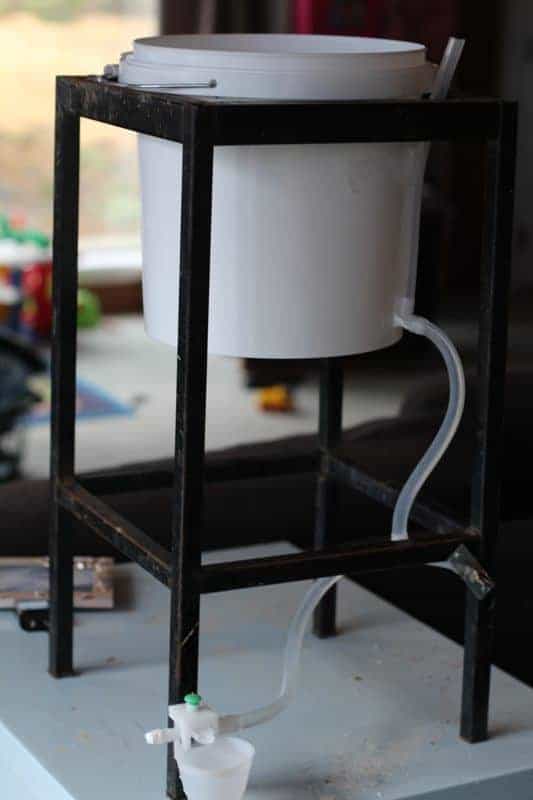
You’ll need a dark-colored 5-gallon bucket, a 5/16th inch hose, T-connectors, and a ½-inch threaded union aka bulk-head fitting. Cut a hole in the bucket and attach the union, sealing it with silicone. A black hose is safer because a clear hose will soon get clogged by algae growth.
2. How To Build an Automatic Rabbit Waterer – Blue Goat Homestead
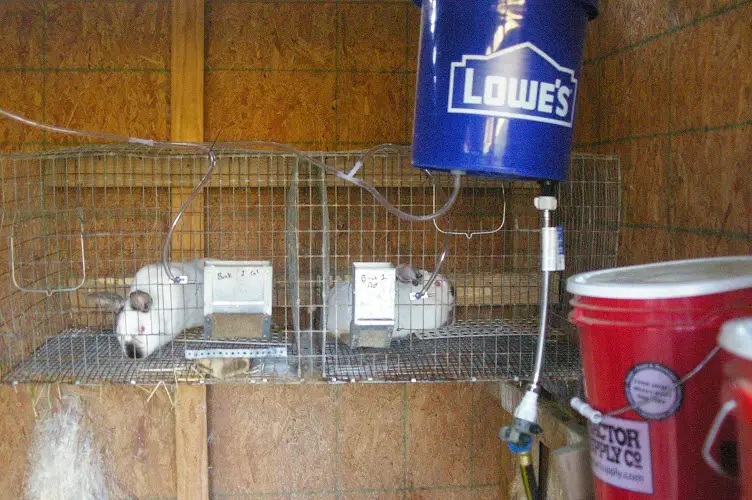

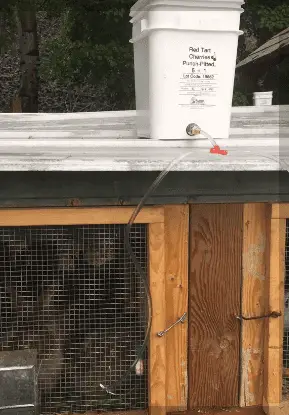
The first DIY rabbit watering system we looked at only needs filling once a week, but you still have to manually add water to the bucket. If you want a system that connects to your mains, try this one. It’s still based on a 5-gallon bucket, but the holes are at the bottom, not the side.
You’ll need a toilet fill system with an overflow valve. This stops the water from spilling out of the bucket since it refills directly from your mains. For the piping, use ¼-inch plastic tubes with nipples at the tip. Use small springs to attach the nipples to the side of your rabbit cage.
3. Build an Automatic Watering System for Rabbits – Slightly Rednecked
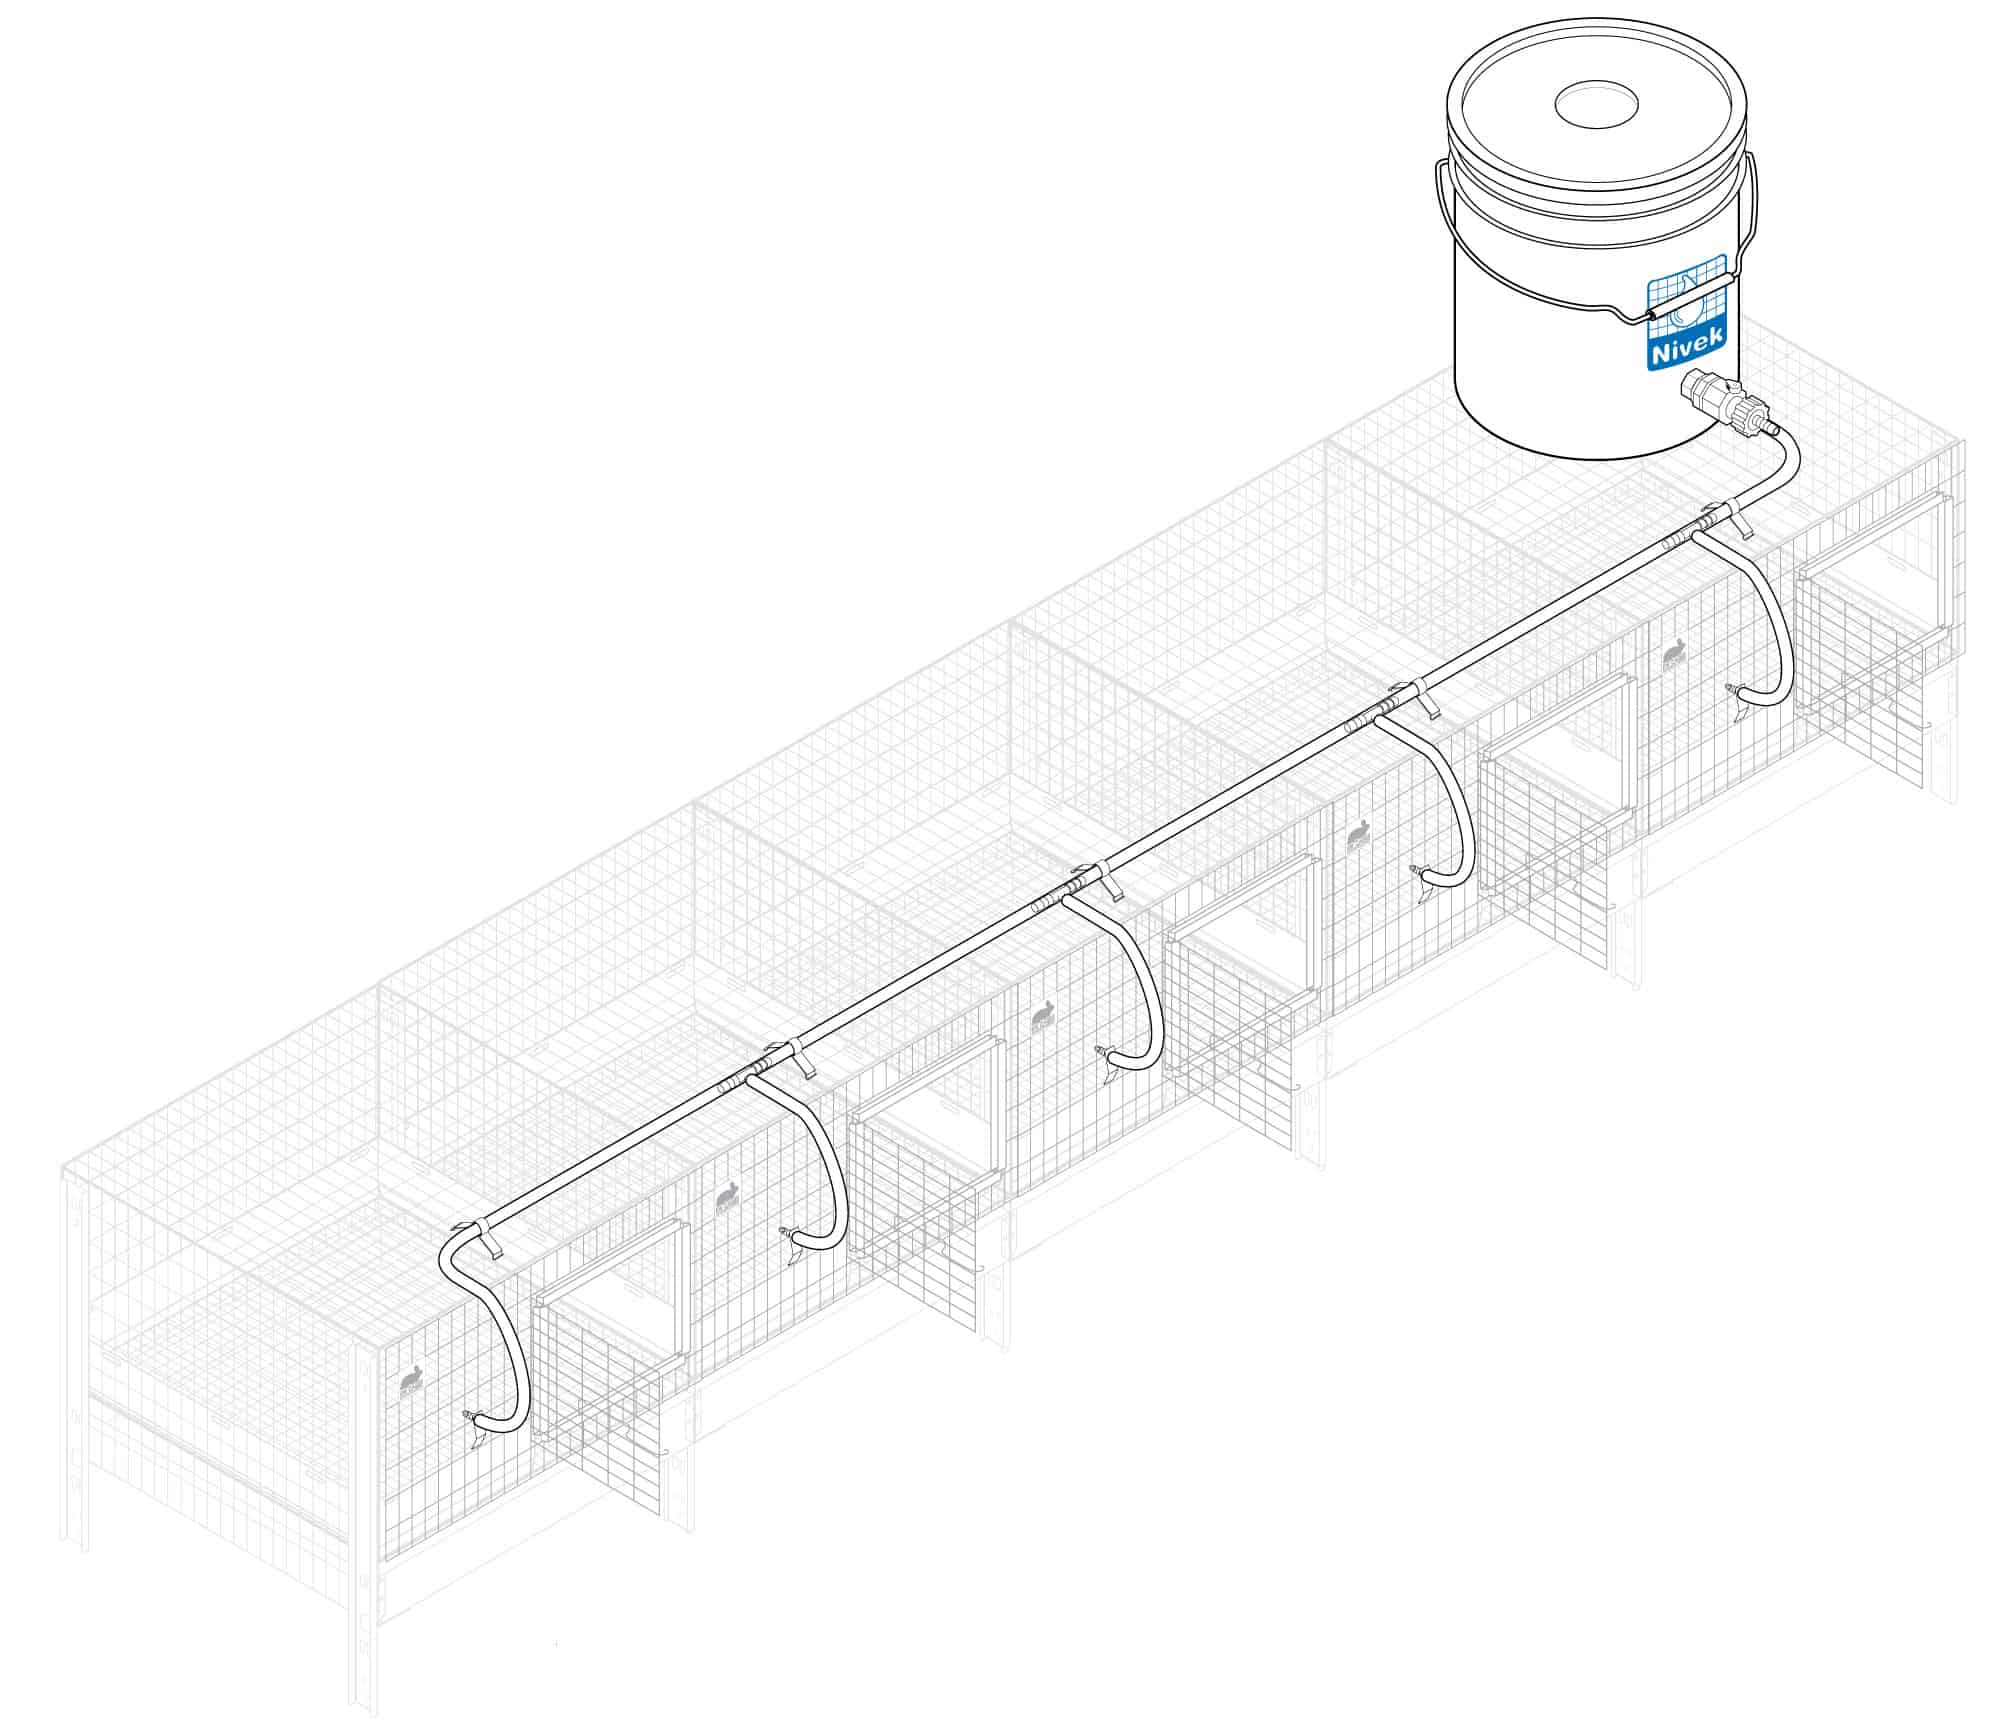
The most essential part of any DIY rabbit watering system is the kit itself. You can order them online or buy them at agricultural stores, and they typically include T-connectors, valve nipples, and springs. You also need 5/16th inch plastic tubing, a 5-gallon bucket, and silicone.
The hose easily fits the nipples as well as the T-connectors. Drill a hole in the bucket, stick a T-connector in the hole, and use silicone to waterproof the joint. You can now hook up the hose to your rabbit cages with a nipple and spring at the tip. Release any air trapped inside.
4. How to Build an Automatic Water System for Rabbits for Less than $5
When you’re installing a DIY rabbit watering system, it makes sense you’d use clear hose. It lets you check the level and quality of the water at a glance. But as you’ll soon see, the tubes get direct sunlight which can encourage algae growth, and it could eventually block the pipes.
Black tubes may be safer, but they’re not as psychologically soothing. But one trick you can use on clear tubes is to set up a shorter length of vertical hose. That way you can check the water levels in the bucket without pulling it down or removing the lid. It’s more convenient.
5. How to Set Up an Automatic Watering System for Rabbits!
Does it matter whether you use plastic or metal connectors for your DIY rabbit watering system? Not really. It’s about your budget and your preferences. It’s more important to get the sizing right. On this set-up, the brass barb fitting is larger – it’s a ¼-inch threaded unit.
Use both silicone and plumber’s tape to waterproof the bucket’s coupling. Since the flute is wider, you need to pair it with a ¼-inch hose rather than the usual 5/16th inch. This set-up uses a black rubber hose. Always keep bottles and metal water bowls as backups for winter.
6. A Complete Guide to Rabbit Watering Systems – Rab-U

Not all DIY rabbit watering systems need valves. If you’re going to refill the bucket manually, it might help to have a vertical overflow tube so you can effortlessly gauge the levels. But if the system refills directly from the mains, you need a float valve like the one in the toilet.
When the water level is too low, the float valve opens the inlet and automatically draws water into the bucket. When the water fills, the float valve shuts the inlet and stops the running water. This prevents overflows from leaking into your rabbit enclosure to bug your bunnies.
7. Raising Rabbits, Breeding Rabbits, Rabbit Hutch, Raising Meat Rabbits
On farms and homesteads, commercial rabbits are mostly kept for meat and fur. Some farms breed pet rabbits too, and they sell these to pet stores. But these agricultural rabbits are kept in rugged dwellings with minimal trimmings. These setups can offer snazzy DIY ideas to try.
While this video is fairly comprehensive, we’re more interested in the watering system. These bunnies use a 20-foot long 3-inch PVC pipe with nipples leading into each individual cage. A curved elbow serves as a refill inlet and a gutter heater keeps the water warm in the winter.
8. DIY 5 Gallon Rabbit Waterer – The Adventure Bite


You can use plastic garden hoses or silicone pipes for your DIY rabbit watering system. The most popular size is 5/16th inch, but you can get a different diameter if you like. Just make sure the pipe fits your nipples. Also, you may worry that each rabbit needs its own nipple.
That’s not necessarily true since they don’t all drink at the same time. This hutch has 10 bunnies and they’re happy to share one water dispenser. To rig the bucket, you can use an electrical conduit connector to secure the hole. Add brass fittings to link up the water pipe.
9. Winter Proof Heated, Circulating Rabbit Water System – Owl Creek
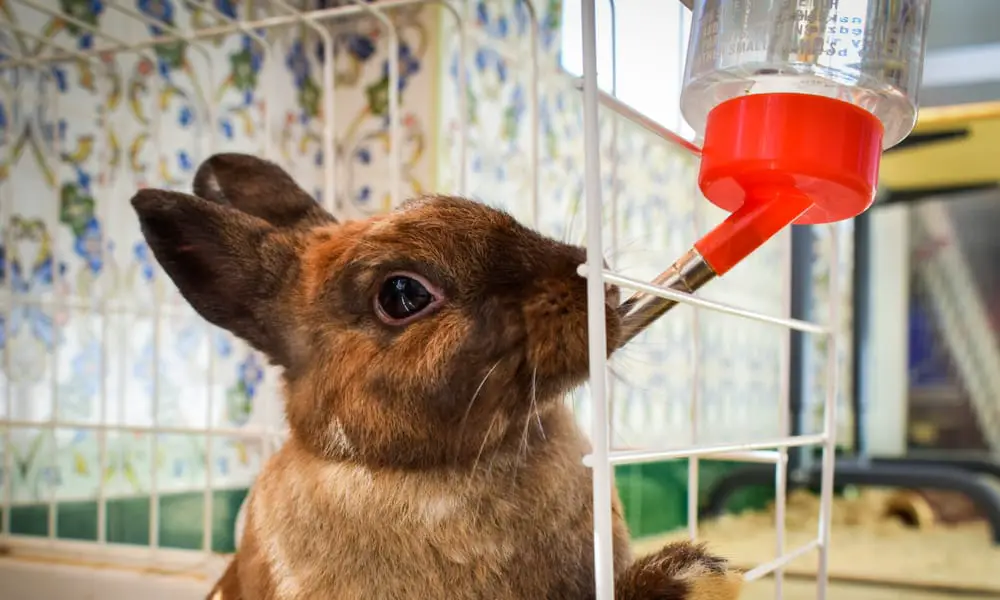
If you want a bare basics watering system for your rabbits, get those upside-down water bottles with a straw nozzle and use zip ties to position them outside the cage. Or use a chicken waterer. They work well, but the water in the tray gets dirty as the bunnies play.
But in the winter, piped systems tend to freeze up so consider setting up a circulating system instead. Put a heater and a pump inside the bucket to keep the water warm. In this case, they’ve used blue pipe instead of clear or black hose. The dark color helps prevent algae.
10. DIY Gravity Fed Rabbit Waterer – Homesteading With a View
Some people like to use plastic connectors for their DIY rabbit watering system. Others prefer brass. Plastic is cheaper, but brass lasts longer. As we saw in an earlier video, if you’re linking a brass flute to a plastic bucket, soften the hole with a lighter to help it bond better.
Alternatively, pair the brass barb with an electric conduit connector. Ensure the conduit is water-tight, though you can add some plumber’s tape to reinforce your waterproofing. You can also use bushing to strengthen your waterproof seal. In this setup, the tubes are ¼ inch.
11. Our Rabbit Self Feeding and Watering Systems by a @Gettin’ Junk Done
We’ve looked at a lot of bucket-based watering systems so far. This one is a little different. It uses two buckets instead of one, so you get a total of 10 gallons. The two buckets are joined at two places by a pair of narrow PVC pipes. The pipes are caulked to ensure they’re waterproof.
One bucket is linked to a garden hose, and you can add an optional floater valve if you like. The upper pipe has an overflow spout as an extra safety measure. Vinyl tubes run from the twin bucket setup to the cages, where T-connectors and nipples let the bunnies access water.
12. DIY Dual Purpose 55g Drum Chicken & Rabbit Watering System!
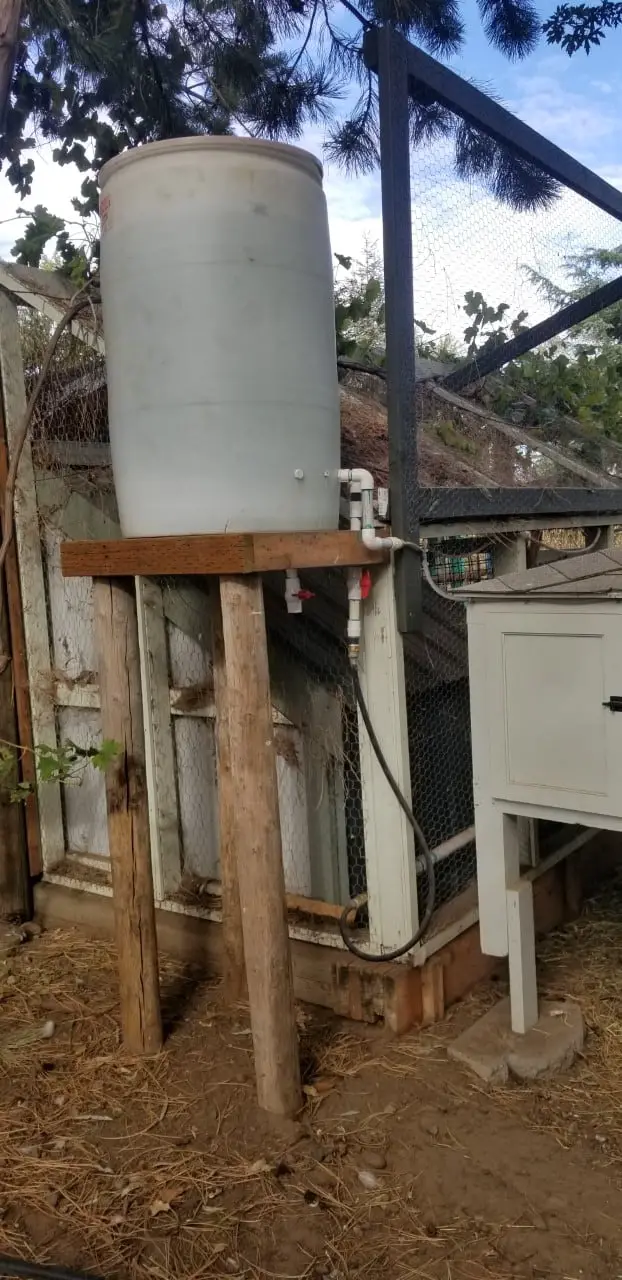
The DIY rabbit watering systems we’ve looked at so far are built off flexible pipes. But you can set up a similar system using rigid plastic pipes. The risk is that the water may freeze in extreme weather. You can resolve that by installing a heater in the tank where the water sits.
This rabbit watering system has an elevated plastic tank that feeds into pipes. The pipes run along the length of your rabbit hutch (or chicken coop). Nipples are fitted onto the pipe at intervals. If you don’t like using PVC pipes, you can still link flexible pipes to the nipples.
13. DIY Rabbit Drinker | Burn TV
In almost all the videos we’ve looked at, the bunny owner was developing a DIY rabbit watering system to replace their fussy water bottles. But sometimes, you want that water bottle, and here’s how you can make one at home. You’ll need a used brandy bottle as well.
Remove the stopper from the brandy bottle, rinse off all the booze, and fit it onto a plastic water bottle or soda bottle. That’s it – you’re done! Cut off the bottom of the bottle so you can easily access the bunny drinker without removing the brandy stopper and loosening its grip.
14. Overhead Rabbit Waterers – The Walden Effect
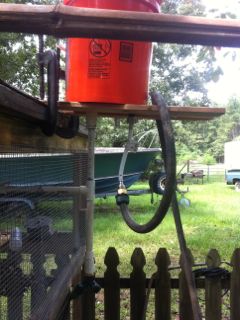

Typically, rabbit nipples are fed through the side of your bunny cage, tied to the wires with clips or springs. But could you place your rabbit waterers above your rabbit’s head? Here’s an idea you could try. The technical aspects are the same – use a 5-gallon food-grade bucket.
This is an automated system, so install a toilet valve to prevent flooding or leaking. But rather than running flexible pipes along the outside of the cage, use carefully positioned rigid pipes that hang closer to the ceiling. The nipples face down so your rabbits need to practice!
15. Automatic Drinker Set-Up for Rabbits – Asenso Pinoy TV
You could combine a plastic bottle with rubber tubing, T-connectors, and nipples to make a more professional watering system. As usual, use the T-connector to add additional waterers and attach your nipples to the ends of the tubes. Use the springs to attach them to the cage.
For the watering system itself, drill a hole in the bottle cap, feed a rubber or plastic tube through the hole, and secure it with silicone or caulk. You can wrap some hardware cloth around the bottle to attach it to the cage. Partially cut the bottom of the bottle for easy refills.
16. Hooking Up The Rabbit Watering System – Papa Pepper

If you find yourself in a pinch, you can rig a makeshift rabbit drinker by getting a plastic soda bottle with its cap screwed shut. Drill a hole in its neck to let water seep through. Glue the bottle cap to a saucer or tray and tie the bottle to the side of the cage so it won’t fall over.
But for a sturdier solution, position a 5-gallon bucket high on the hutch and feed flexible piping through the individual cages with nipples at the relevant spots. Don’t toss out those make-shift feeders though, since you’ll need them if your piping system freezes in the winter!
17. The Best Rabbit Watering System Ever! – Peace & Plenty Homestead
We’re coming to the end of our list, so take a look at Daniel. He has tried every possible watering system from fancy pet bottles to plastic piping systems. And he’s helpful enough to point out why each rabbit drinker backfired. The solution that works for him is rain gutters.
He has rigged up 50 feet of gutters along the back of his cages. They’re aluminum, so the bunnies sidle up against the gutters to cool their bodies down. He also set up a parallel gutter above the cage to collect rainwater and drain it into his DIY rabbit watering system. Try this!
18. Building Your Automatic Watering System – Ephiny
Okay, so you’re now fairly familiar with the process of hooking up a DIY rabbit watering system. But you may still be confused about all the parts you need. What are they called, and how do you find them at Home Depot? This guide has close-up photos of all key components.
Some of the parts look a little different. The nipple is brass, the T-connector is metal, and the clips have varied shapes, not just the usual J-clip. But you can use these photos as a memory primer when you’re shopping for parts at the hardware store or digging through the garage.
19. Never Water Your Rabbits Again!!! – Half a Handyman
Earlier, we looked at a DIY rabbit watering system made of 3-inch PVC pipes, but let’s go one better. By working with drainage pipes instead of plumbing pipes, you significantly cut costs. You’ll need the extra cash for the pressure regulator, valves, grommets, elbows, and hangers.
To keep the system from freezing in the winter, wrap your hose with fiberglass pipe wrap and heat tape to keep it insulated. This system looks far more stylish because the hardware is hidden behind the plywood wall, and the nipples pop out of electrical wall-mounted plates.
What rabbit watering system do you currently use? Show us photos in the comments section!
